This Guide Exclusively Targets Intel Devices, Excluding M Series
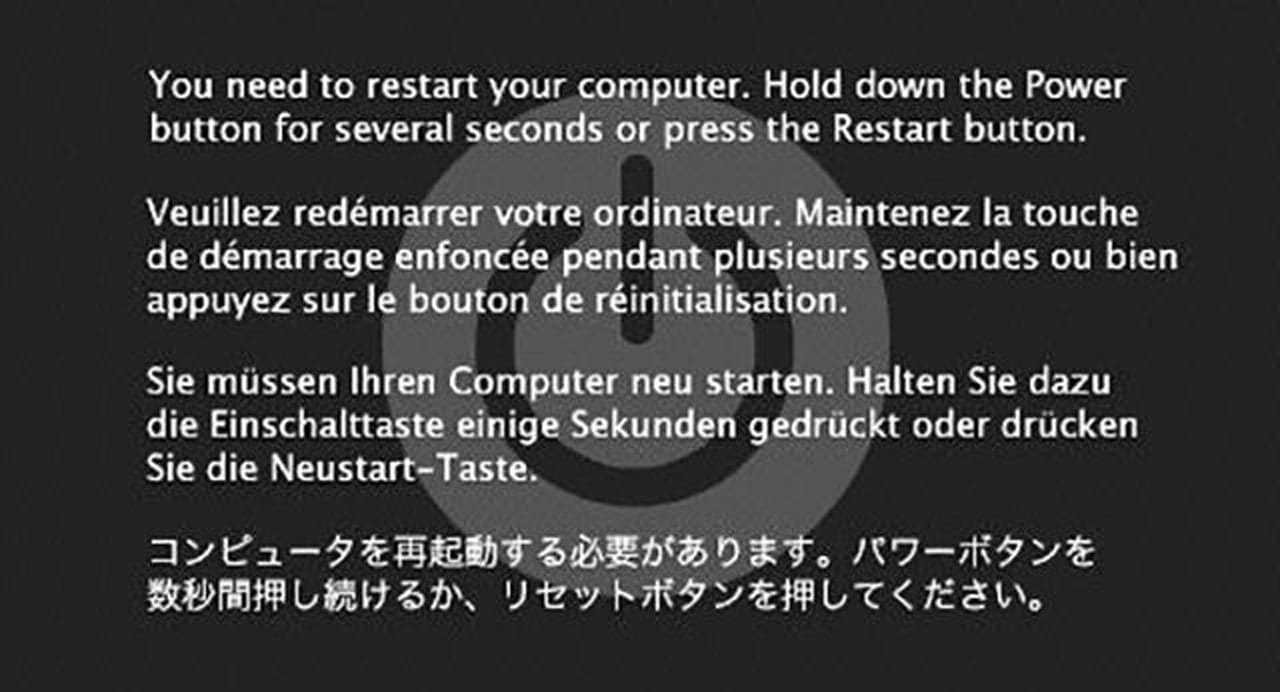
Kernel panics can be a frustrating issue that disrupts the smooth functioning of your Apple device. However, there are several troubleshooting methods you can employ to resolve this issue. In this article, we will guide you through some effective steps to tackle kernel panics and get your Apple device back to optimal performance.
Method 1: Booting in Single User Mode and Running FSCK
One way to address kernel panics is by booting your device in single user mode and running FSCK. Follow these steps:
- Start your device and hold the
CommandandSkeys until text starts loading. Release the keys and allow the text to load. - Type
fsck -fyand press the return key. - The system will perform a series of checks. If it reports errors, repeat the process until you see the message “The Macintosh HD appears to be okay.”
- Type
rebootand press enter to restart your device.
Method 2: Using Disk Utility for Verification and Repair
Disk Utility can also help resolve kernel panics. Here’s how:
- Open Disk Utility and select your system disk (typically named “Macintosh HD”).
- Click on the First Aid tab.
- Run both the “Verify & Repair” and “Verify & Repair Permissions” options.
Method 3: Resetting NVRAM and Other Settings
Resetting NVRAM (non-volatile random-access memory) and other settings can often resolve kernel panics. Follow these steps:
- Start your device while holding down the
Command,Option,P, andRkeys.
- Once the text has loaded, type
reset-nvramand press enter. - Type
set-defaultsand press enter. - Finally, type
reset-alland press enter.
Method 4: Apple Hardware Test: If the kernel panics persist, you can utilize the Apple Hardware Test to diagnose potential hardware issues. Here’s how:
- Turn on your Mac and immediately press and hold the ‘D’ key on your keyboard until you see the Apple Hardware Test icon.
- Select your language and click the right arrow.
- Click the “Test” button.
- Before starting the test, choose “Perform extended testing” for a more comprehensive analysis, although it may take longer to complete.
Conclusion: Kernel panics on Apple devices can be resolved by employing various troubleshooting methods. By following the steps outlined in this article, you can effectively diagnose and resolve kernel panics, ensuring your Apple device operates smoothly once again. If the issue persists, consider reaching out to Apple Support for further assistance.